
Why I Hate Mac: Linux Teleprompter Setup
I’ve spent the last year as a Developer Advocate at Akuity, where I regularly record videos for YouTube. Every time I show a draft of my videos to my marketing manager, his immediate response is:
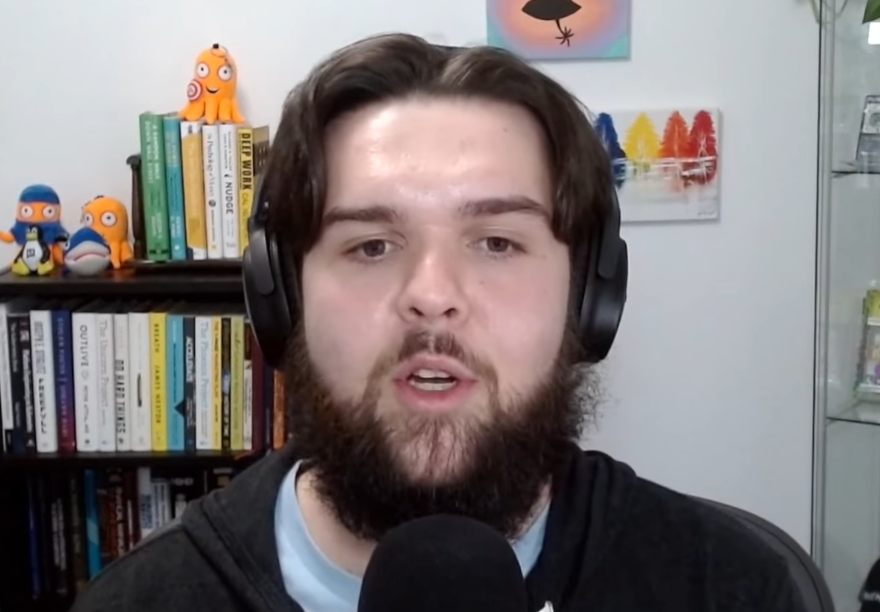
Example of me looking at the screen in a video, before I had a teleprompter.
Which turns out to be a particularly challenging problem to solve. I initially thought nobody would care if I was not looking at the camera; it’s a YouTube video after all, not a conversation. But the more I looked around at other creators’ videos, the more I could feel the difference.
It’s such a basic human need to have eye contact, even if you aren’t actually talking to the person. It provides a level of engagement that you can’t get if you feel like the person is just reading something from their screen; it’s not authentic.
So, I set out to make eye contact with the camera in my next video. In my initial search, I found many half-baked free solutions. Such as moving the window with the text directly below my camera to make it appear that I’m looking at the camera while I’m reading. While this technically solves the problem, it would mean constantly scrolling up the text to avoid looking away from the camera. Others included putting the webcam on a tripod or a plexiglass rig to hang it in front of the monitor, which was more hassle.
They weren’t practical for me. I wanted the lowest possible barrier between recording a talking-head shot for a video and showing something on my main monitor. Putting something over my screen, limiting my windows while recording, and pulling out a tripod isn’t what I had in mind.
I did some more digging until I was finally reminded of a device I hadn’t thought of for years but was built for exactly this purpose: a teleprompter! Right away, I knew this would solve my problem with elegance and grace despite the upfront cost.
Why I hate Mac
I had initially sought to use my teleprompter set up with my MacBook. It seemed easy enough; I needed a teleprompter and a small screen, and it was conveniently Cyber Monday at the time, so I took advantage of the deals. I had a spare webcam and a tripod to use, too.
The unexpected (but I should have seen coming) challenge was configuring the display to reflect (mirror) the output so that it would show correctly on the mirror in the teleprompter. I was initially optimistic in thinking that the display settings on OSX would have an option for this, but sadly, they do not. My second hope was that the portable display I purchased would have an option for it; as you can probably guess, it did not.
After much searching around, I found this post on Reddit (doesn’t it always come down to a post on Reddit?) where the author explained how they accomplished mirroring their display for a teleprompter with an app called Better Display.
Better Display would create a “virtual” display that is associated with the display you want to mirror. You would then stream the virtual display’s reflected (mirrored) contents to the real display. This worked in a basic sense that I could now read the text displayed on my teleprompter, but everything around it sucked.
In addition to my stubbornness on how there should be a free solution, I was left with the real display still presented to my MacBook as a valid display, causing windows to open on it. But I couldn’t see the windows because the virtual display was streaming to it. As you can imagine, this was incredibly frustrating.
I have other gripes with OSX for content creation, too, like all the hoops I’m required to jump through to capture output audio in OBS (although it appears that this was addressed in recent versions).
I thought to myself, I bet I can do this on Linux with very little effort. A quick Google search confirmed as much. So, this final straw with the teleprompter pushed me back to using Linux for my desktop environment and recording videos. With Linux, I can have the level of control I need without relying on purchasing software to solve every problem.
I suppose the irony is that I used a $1,500 PC I had in my closet to solve a problem that I could’ve solved for $20.
The Setup
My teleprompter setup consists of:
- NEEWER Teleprompter X14 PRO
- ViewSonic VA1655 15.6 Inch 1080p Portable Monitor
- Logitech C920x Webcam
- Desktop running Pop!_OS (Ubuntu) 22.04
- NEEWER Dimmable LED Light
- VIJIM LS02 Camera Desk Mount Stand
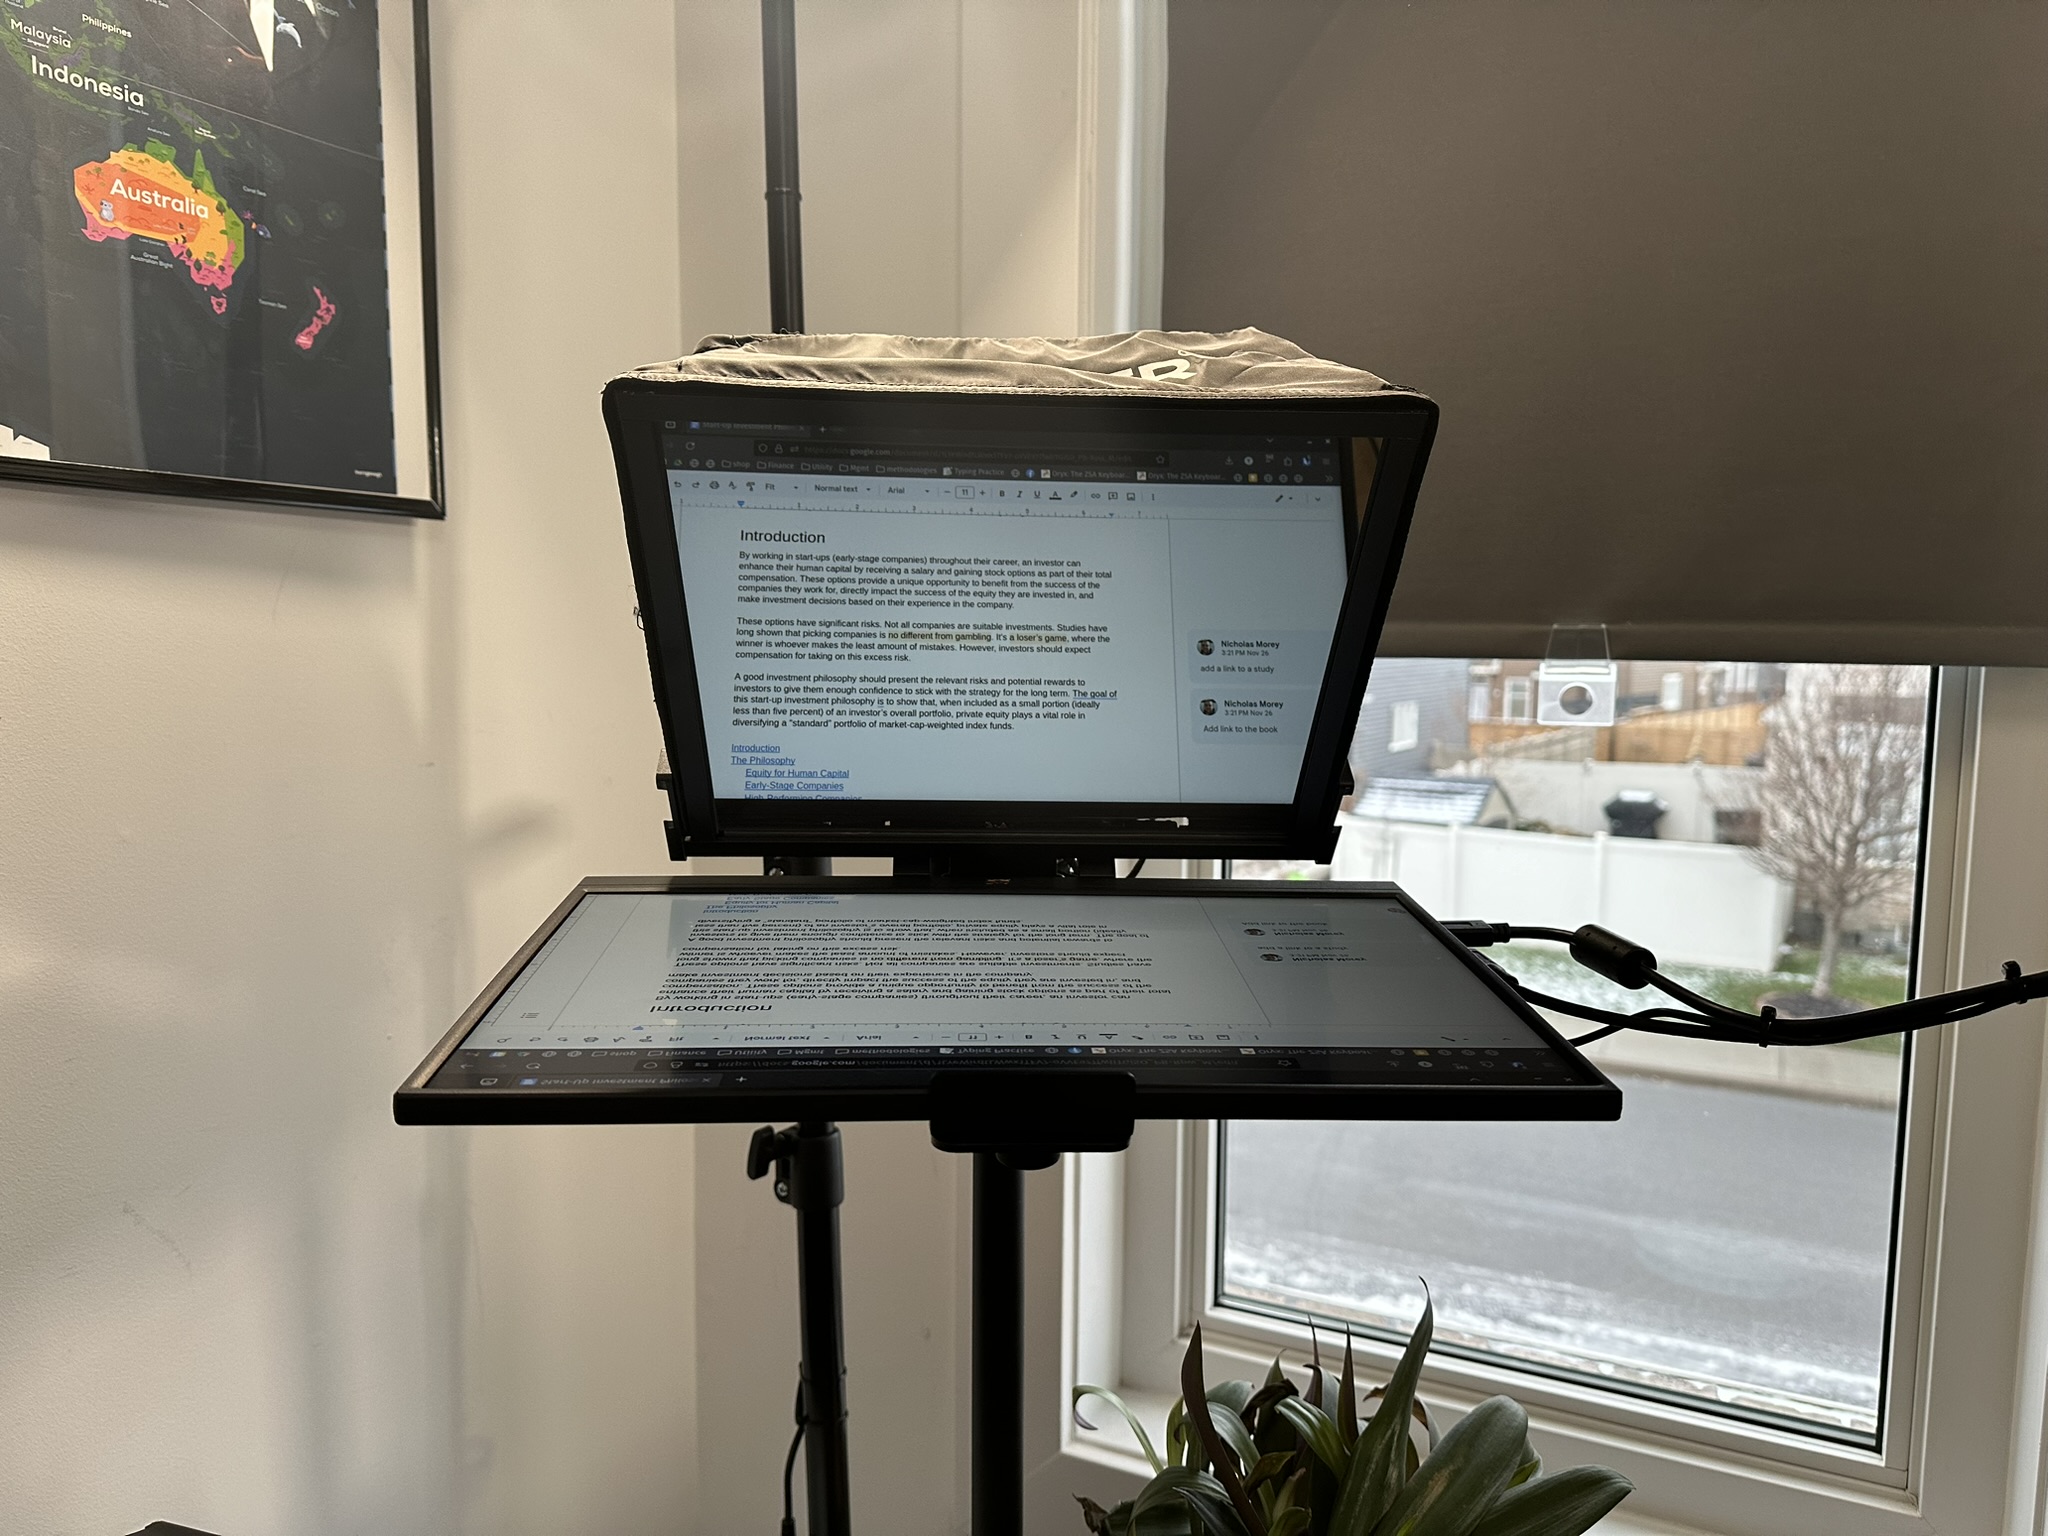
The Display
It’s common for content creators to use a teleprompter with an iPad (or any tablet) and some app to display the text they want to read mirrored so that it reads correctly. I found that the approach was not flexible enough for me. I wanted to have a full-fledged display attached to my workstation that just happened to be on a teleprompter. In addition to recording videos, this allows me to use my teleprompter for Zoom calls, maintaining eye contact while giving light-weight demos (I say light-weight because the display is still small so I can get the level of detail that I can on my main 32” 1440p display).
I purchased a portable monitor, specifically the ViewSonic VA1655 to address this. I chose this model because it was:
(a) on sale at the time,
(b) fairly large for a portable display at 15.6”,
and (c) from a brand I recognized.
I can easily remove the display from the teleprompter rig. Therefore, it serves the dual purpose of a portable display that can be connected to my laptop with a single USB-C cable when I travel.
The advantage of using Linux with my teleprompter setup is that it was a single command to mirror the contents of the display: xrandr --output HDMI-0 --reflect x (where HDMI-0 is the display on the teleprompter). And this even persisted between reboots. My motherboard doesn’t support a display connection over the USB-C port, so I connect the portable display with HDMI and power it with USB-C.
The Camera and Lighting
I already had a spare Logitech C920x webcam lying around, so I chose to use that. While this does work, the webcam requires plenty of light in the room to capture a good image from inside the teleprompter. This led me to upgrade from my small USB-powered lights to a pair of NEEWER Dimmable LED Lights, providing a bright, warm light that fills the whole room.
The webcam is adequate for now, but the image is not particularly sharp, and there’s no depth. I see myself upgrading to a mirrorless Sony camera with a Sigma 16mm lens to boost the video quality of my talking-head shots.
The Final Look
I’m not 100% satisfied with the final quality of the image. The framing on the corner of my office with the door is not an ideal background. Something I wish I had considered before committing to the position of the teleprompter on my desk by zip-tying the cables into place. The simple solution is to move my desk in the room.
But compared to what it was before, I love it.
Example of me looking at the screen in a video, before I had a teleprompter.
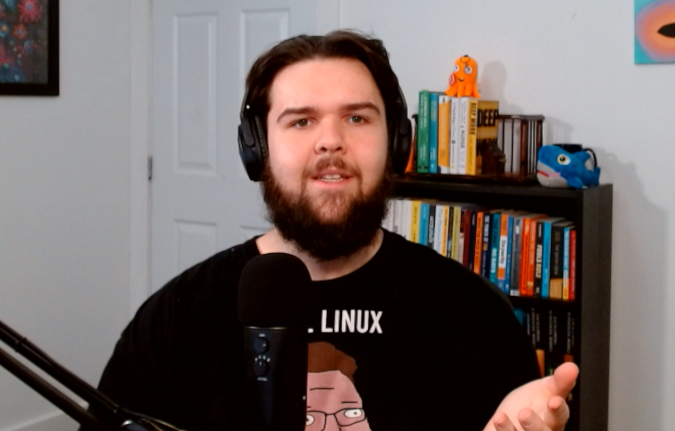
Example of me reading from the teleprompter in the new setup.
The eye contact, at least for me, makes a noticeable difference in the level of engagement as the viewer. I tried it out during the company office hours and some impromptu huddles on Slack by putting the window on the teleprompter screen and turning to look at it when I talked or when engaged in conversation. It made me feel much more engaged in what we were discussing.
The accidental real improvement came from the warm colour temperature of the new studio lights. As my partner phrased it: “You looked like a zombie before, all gray and washed out. Now you look alive, vibrant.” I feel like I’m giving a lively presentation when I record now instead of giving a lecture.
The Next Stage
The two improvements I see for this setup in the future are:
- replacing the Logitech webcam with a Sony mirrorless camera, and
- using OBS as a webcam to easily switch between my main monitor webcam and my teleprompter in meetings using my Streamdeck.
If you have any advice on either of these or anything else, leave a comment!